1. Open Microsoft Windows Live Mail 2011.
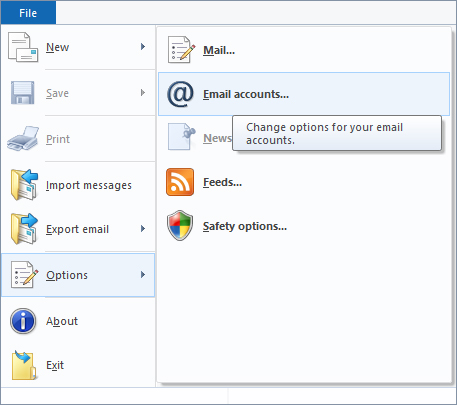
At the top of the page click on the Blue File button and then select ‘Options’ followed by Email Accounts… .
File> Options> Email Accounts>
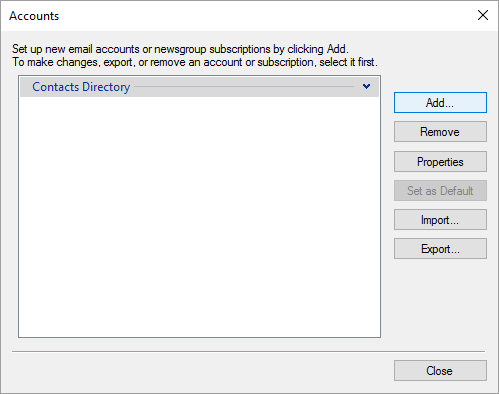
2. Click on the ‘Add’ button.
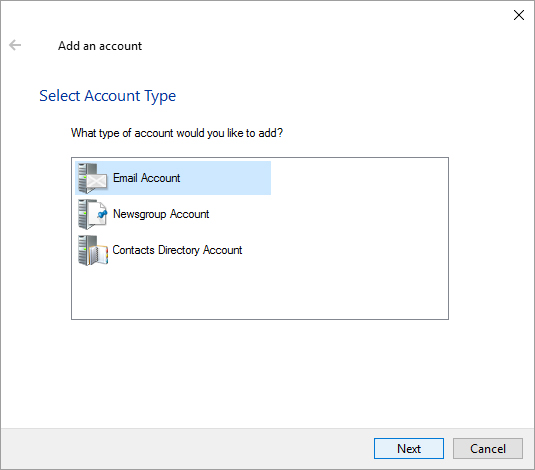
3. Select the account type ‘Email Account’ and click ‘Next.’
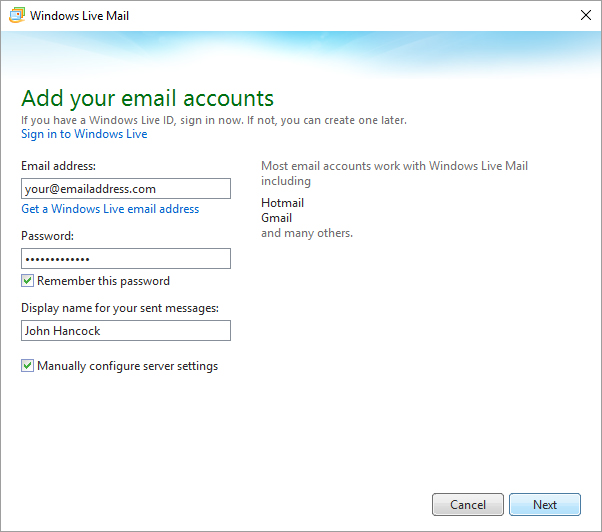
4. Enter your full Email Address (eg. your@emailaddress.com) along with your Password and Your Name.
Note: what you choose for you name will be displayed in the FROM area when you send an email. A good idea is to use your real name or business name (if this is a generic mailbox).
Be sure to also check the box that says Manually configure server settings, before clicking ‘Next.’
5. Manually configure server settings
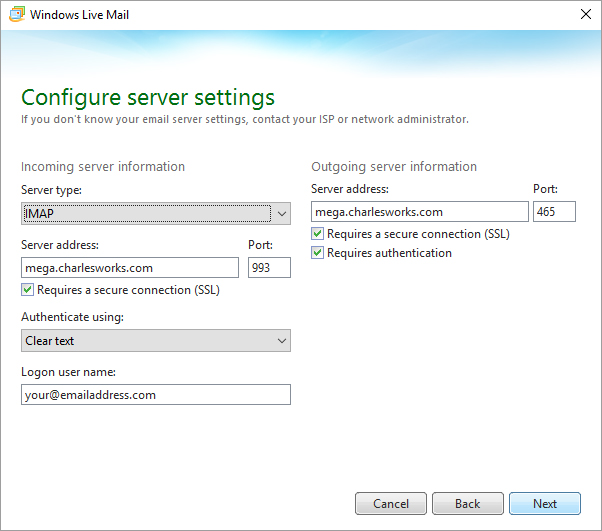
Make sure you have IMAP selected for the server type, before entering in your Incoming Server Address mega.charlesworks.com and Port Number 993 if it is not entered. Then check off, “Requires a secure connection (SSL).”
Your Logon user name is your email address (eg. your@emailaddress.com)
Then fill in the Outgoing Server Address which is the same as the Incoming mega.charlesworks.com and Port Number 465 if not already entered. Then check off, “Requires a secure connection (SSL)” along with, “Requires authentication.”
Click Next.
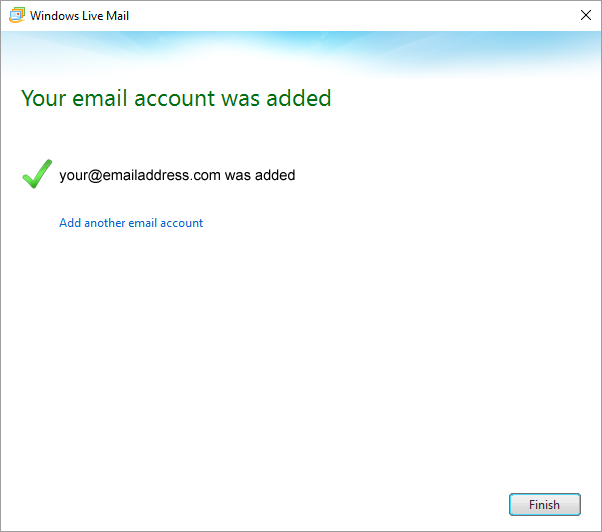
6. Finally click Finish. Now, you’re ready to send and receive mail. To set up multiple accounts, follow these steps again.
